Bernie you're amazing!!!
How you can help A Place to Bark
Donate just $5 or $10 will help save another life and go toward helping A Place to Bark finish the much needed indoor shelter!Even though Bernie has money in her 6 degrees badge that money is already accounted for in vet bills. I can not stress enough how expensive rehabbing these animals is. I know just from myself with our pets how quickly we can burn through money. Now imagine that times 500 dogs + kitties per year. Just feeding them alone costs a fortune! Every little bit that you can donate will help!!! These animals wouldn't be alive if it weren't for A Place to Bark!
Buy a stamp! 100% of select rubber stamp designs go towards A Place to Bark's Cat Shelter!
Friend A Place to Bark on Twitter or Facebook to follow along with her adventures!
Spread the word about the great work Bernie does! Post to your blogs, Facebook and Twitter! We need to help A Place to Bark finish the shelter!
GET INSPIRED:
- Tanya Watts created a Claudine Hellmuth Studio sticky-back canvas mirror with stamping!
- Jessica Acs has a great tutorial on her blog and demonstrates the difference between Multi Medium and Liquid Laminate for gluing!
- Jessica Acs has another super tutorial on her blog an altered paint can as message board! Love it!
- Crystal Jefferey Rigger shows how she altered a 7Gypsies binderie using Claudine Hellmuth Studio products! Looks Beautiful!!
- Ellen Hutson explores Claudine Hellmuth Studio Gesso and has a tutorial with some amazing new techqniues!
- Just added to my schedule is a workshop in S. Portland Maine Sept 25-27! Click here!
- Heidi Swapp is using my products in some of her upcoming classes at Scrapbooks ETC in Mesa AZ
- Crystal Jeffery Rigger is teaching an entire class with my products at the Great American Scrapbook Convention in VA
And just a reminder! If you make a project and post it to your blog using any of my Studio Line products, let me know and I'll list it when I do linky blog post! Also for the instructors out there: send me an email if you are teaching a class using my product line and I'll mention it too! For more information about the Claudine Hellmuth Studio product line click here!
Labels: Claudine Hellmuth Studio
I can hardly wait! I keep "saying" that I want to incorporate more needlework/sewing into my work and then I never actually get around to doing it -- maybe this will be just the push I need. We'll be making little sampler's like this one above. This photo is of Amy's work from her amazing blog. Check it out!
Labels: this and that
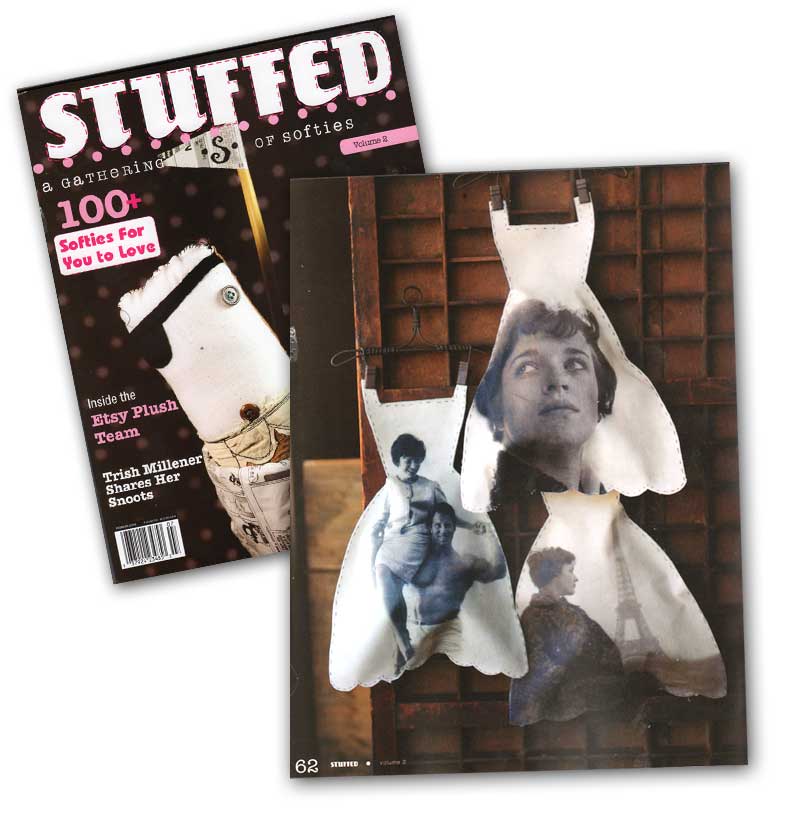
In this article, I have directions show how to use my Claudine Hellmuth Studio Sticky-back Canvas to create photo dresses!
I love this magazine, if you haven't seen it yet, check it out at Barnes & Nobel or Borders!
Labels: Claudine Hellmuth Studio, press
I actually have two pieces for this topic. This first one was the first idea that came to me:
While I was working on the first piece, I got the idea for this next one! I left the background with just line drawing (I was too tired out to finish the piece) and then I decided that I liked it that way!
It's been forever since I had time to create artwork for illustration friday! yay! glad to be back!
Labels: illustration friday
Here's how:

First paint your surface using Claudine Hellmuth Studio paints in your favorite color - or mix a color yourself! Here, I am painting a 2x2" square of Sticky-back Canvas with Painterly Pink.
 Press your photocopied image directly into the wet paint. Press gently to make sure there is good contact. Laser copies will work best for this technique - for example the copies you make at the Kinkos or Office Depot. Not the kind that come from your home inkjet copying machine. You use a color copy or a b/w copy, just keep in mind that your paint color that you choose will show through a little bit, so keep that in mind when you choose your copy and paint color! Also your image will be reversed when you transfer it, so if you have words make sure to flip the image in the copying machine.
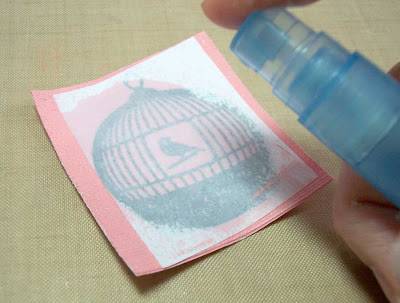
Allow to dry completely. I prefer to let it dry for a couple hours. The #1 thing that can go wrong with this techqniue is not allowing it to dry all the way. Once dry then spray the back of the copy with water, I like to make a little puddle and let the water sit for a minute or two. You will start to see the paper go transparant.

Gently rub off the paper pulp with your fingers. Once all the paper pulp is removed your transfer is done!!
That's it! You have created a transfer into paint!
Labels: Claudine Hellmuth Studio, free tutorial

Sandie you are the winner! The random number generator at random.org selected #55 and that's you! Send me an email with your address and I will mail a pack of Sticky-Back canvas out to you!
thank you everyone for playing! We'll have more giveaways soon!!
Labels: contest, free goodies
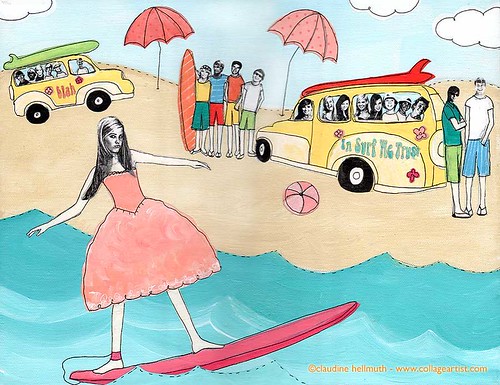
This piece was super fun to create! The client had photos of her daughter surfing in a 50's prom dress and wanted me to recreate the scene. She had a lot of friends and the trick was working every single one of them into the piece! She was a legend at the beach the day she surfed in that prom dress!
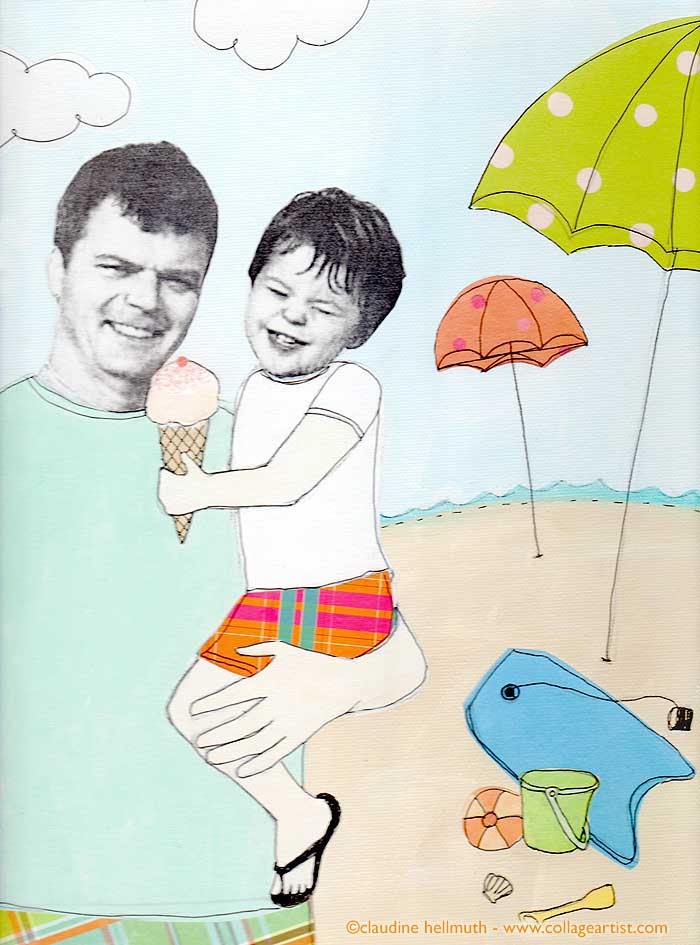
Father and son at the beach, with one of their favorite beachy treats - an ice cream cone! This order was created as a Father's Day gift.
Hanging out at the beach with the doggies! The favorite beach of this family was in Watercolor Florida, even the dogs get to go!
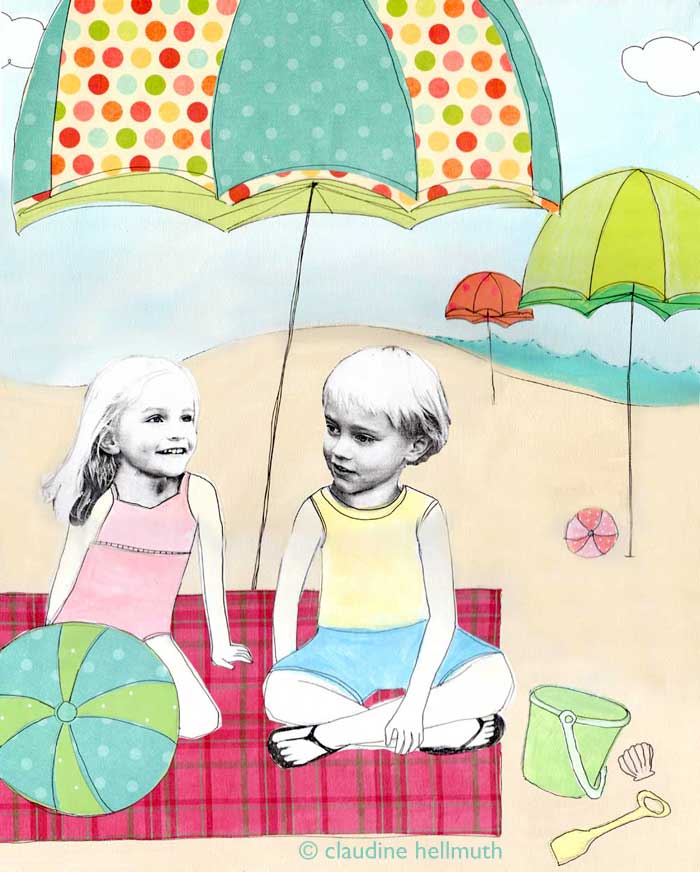
Two cute kiddos at the beach!
Hope everyone has a create weekend even if you aren't at the beach!
Labels: custom artwork
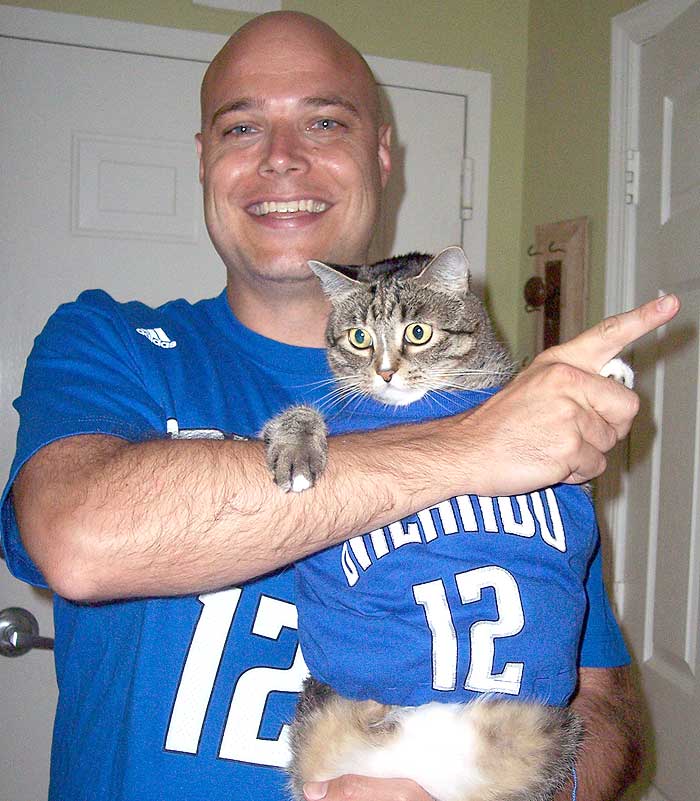
Let's go Magic you can do it!
 Let's have a giveaway!
This giveaway is for 1 pack of my 8.5 x 11 Claudine Hellmuth Studio Sticky-back canvas. Just leave a comment on this blog post and you'll be entered to win! I'll choose a winner using the random.org number generator on Monday June 15th at 5pm!
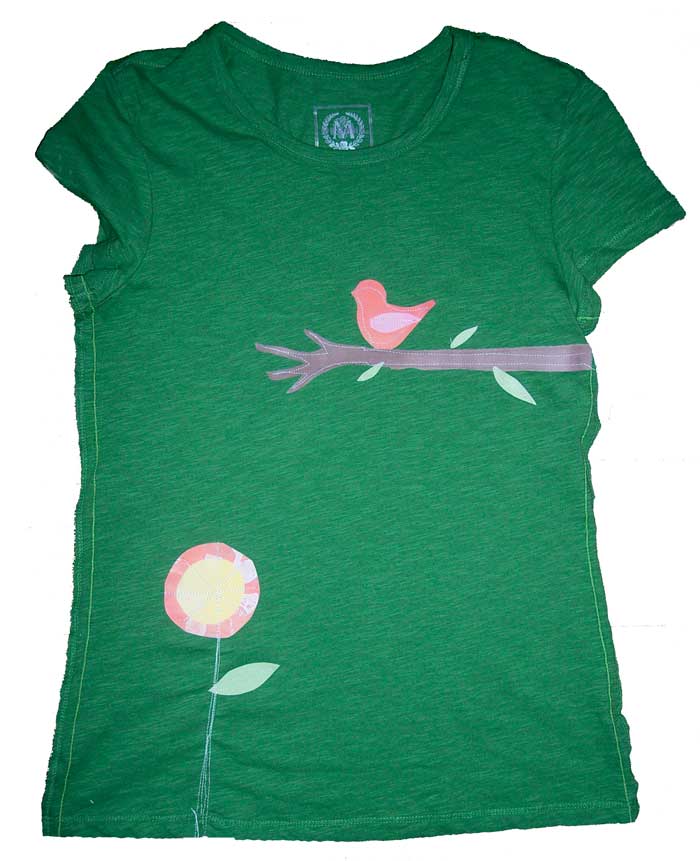
And for a little inspiration, here's a T-shirt that I embellished using Claudine Hellmuth Studio Paints and Sticky-Back canvas. (T-shirt not included in giveaway)
Here's how I made it! I bought a T-shirt from Target - my favorite place to shop! And embellished using my Claudine Hellmuth Studio acrylic paints Sticky-Back canvas. After I painted the Sticky-Back canvas I cut it into shapes and sewed them to the T-shirt with my sewing machine. You can sew it - it doesn't gum up the needle! And it holds up in the washer. Just turn it inside out and put it in a mesh bag to protect it in the machine, then lay flat to dry! You can iron lightly once dry to smooth out anything that need to be flattened again. I washed this shirt with my regular laundry, jeans etc and it was fine!
More inspiration of what you can create with Claudine Hellmuth Studio products here!
Leave a comment below and be entered to win 1 free pack of Sticky-Back canvas so you can create your own projects!
EDITED MONDAY @ 5:25PM EST *** WINNER ANNOUNCEMENT!***
A winner has been selected using the random number generator at random.org.
Click here to see if you are the winner!
thank you everyone for playing! We'll have more giveaways soon!!
Labels: Claudine Hellmuth Studio, free goodies, free projects
Wishing you the best birthday ever! I love you!!
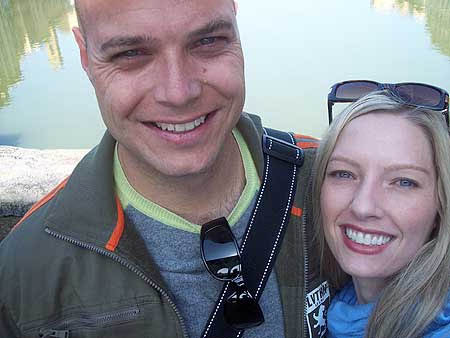
After Ranger U, Paul and I are going to Manhattan for a birthday celebration trip for Paul's 35th Birthday! The cat sitter is holding down the fort at our place so we can relax and not worry about Stan and Mabel. Perfect!
I'll be twittering from the road! Follow my twitters in my blog side bar or go here to read my updates!

GET INSPIRED:
- I created a Claudine Hellmuth Studio Sticky-Back Canvas photo house tutorial for the Fiskars Blog. Check it out here! (photo above)
- Jennifer McGuire has an amazing video tutorial on her blog showing a whole NEW resist technique using Claudine Hellmuth Studio Paints and Sticky Back Canvas.
- Jessica Acs whipped up the cutest gift idea, cookies with a paint bucket tin created with Claudine Hellmuth Studio Multi Medium! Check out her tutorial here! And you can be entered to win a prize when you visit her blog!
- A beautiful card design created by Jennie from The Stamp Connection using Claudine Hellmuth Studio paints, multi medium and sticky-back canvas! Lots of great tutorials on her blog, you don't want to miss this amazing version of the beaded Sticky-Back Canvas necklace that she created!
- Debbie Tlach painted her kitchen table using Claudine Hellmuth Studio paints. Looks amazing!!
LEARN MORE:
- I'll be teaching a 1/2 day class June 28th at Angela's Happy Stamper in Reston VA. Click here!
- Just added to my schedule is a workshop in S. Portland Maine Sept 25-27! Click here!
THANK YOU:
And just a reminder! If you make a project and post it to your blog using any of my Studio Line products, let me know and I'll list it when I do linky blog post! Also for the instructors out there: send me an email if you are teaching a class using my product line and I'll mention it too! For more information about the Claudine Hellmuth Studio product line click here!
Labels: Claudine Hellmuth Studio, free projects, free tutorial
Labels: workshops

Leave a one word comment on Kelly Rae's blog for a chance to win! She'll be picking a winner in a day or so, so enter now!
Labels: Claudine Hellmuth Studio, contest, free goodies






 Name:claudine hellmuth


